
Disclosure: At the end of each efficient home server article I use amazon affiliate links. They don’t cost you anything, but help me offset some of the cost for running this page. For details, check the affiliate disclosure.
If you’re like me, you want to be able to access all your digital life from anywhere. But, you also don’t want to put your personal documents and data on third party servers. Yes, the security of Google’s data centers against unauthorized access might be a lot better than that of my home server. Yet, if the security guard is the one reading my data it kind of defeats the purpose. So, having an efficient home server to host all my services would be ideal.
There’s tons of services you might like to run yourself. Some of them might be:
- Network attached storage
- Home automation
- Password manager
- Calendar(s)
- Private messenger
- and lots and lots more
Often pleople use old hardware for machines to run these services. I’m not too big of a fan of this, since old hardware usually is slow and consumes a lot of power. Especially here in Germany, where electricity is still comparatively pricey, I’d like to keep the power consumption down. Usually, I do recycle hardware as good as possible. But for my new NAS/HomeServer I wanted to invest in new hardware, mostly because I did not have anything lying around. Let’s build an efficient low power home server together 😊
In this 4 part article series I’d like to show you how I chose the components for the efficient home serever and what the resulting system is like. The resulting efficient home server in my case does need far below 10 W during idle and yet is more than fast enough to run multiple VMs and containers.
In Part 1 (this part) I explain what hardware I have chosen, why and how I chose it. The Part 2 documents the actual build process and power optimizations. The power optimizations are detailed in this Part 3. The last and 4th part explains the main pitfalls I experienced when configuring all the services I wanted.
Contents
Requirements for the efficient home server
I wanted the system to be very power efficient. Therefore, 10 W in my eyes was the absolute maximum for the base system without any additional peripherals like disks. Yet, I knew that it needed to be able to run at least a hand full for VMs and a lot of containers.
- Power efficient (< 10 W)
- Min. 1 NVMe drive
- Min. 4 SATA drives
- Min. 1 Gigabit Ethernet port
- Compact case that does not require a rack
Without going too much into detail regarding each service, the hardware needed to be fast enough, to run at least the following services (in addition to being my NAS):
- TrueNAS SCALE
- Home Assistant OS
- PiHole
- Nextcloud
- Vaultwarden
- Paperless NGX
At this point I’d like to include a little spoiler: The resulting system did indeed get well below the 10 W threshold. The bare system (CPU, mainboard (with GbE), memory, SSD) sits at around 5-6 W during idle, which is pretty decent. If I may say so myself 😁
Hardware choices for the efficient home server
CPU for the efficient home server
- 4+ Cores
- Low idle power (~5 W total for naked system)
- DDR5
- Enough PCIe lanes for gigabit Ethernet an an NVMe
The first and likely most important choice was that of the CPU. From what I’ve gathered through my reading, AMD currently is very efficient under load, but horrible at idle. I was able to confirm this on my desktop PC, which currently is running an AMD Ryzen 5600X. I can’t get it below 70 W in idle… Intel CPUs on the other hand are supposedly very efficient at idle, but less so under load. Since the server will likely by idling far above 95% of the day, the idle power is a lot more interesting.
So with Intel I went, a Intel Core i3-12100 in this case. This CPU offers a good balance between efficiency, performance and price. Efficiency wise an i5-12xxx should also be good, but with P- and E-cores mixed, power management might get trickier, depending on the used distribution, kernel or OS. If you do not want to add an dedicated GPU, please make sure to not buy the 12100F, since it does not have an integrated GPU.
In addition, to keep the CPU’s cooling’s noise down, I decided to buy a third party CPU cooler. Since space is a premium in the case I’ll be using, I’ve gone with a pretty compact cooler Arctic Alpine 17 CO. Mind the additional “CO” at the end. This indicates that the fan (or the bearing of the fan) is suitable for continuous operation. If you want a different cooler, definitely check the case’s manual, as they’ve included maximum possible CPU cooler dimensions (165 mm max. height).
Why CPU first?
Why I chose the CPU first you might ask. In general, with the CPU you usually also fix the CPU socket and memory, so I personally think it’s a good place to start a build, because much depends on it. You might also start with the mainboard or the case. But, from my experience you’ll always find a mainboard and case with the desired features, regardless of the CPU.
Case
- 4+ disks, 2,5″ and 3,5″
- ATX PSU (check the PSU section for details)
- Good cooling for silent operation
- Compact size
Next I like to choose the case, because this will also fix Mainboard and PSU form factors. In my opinion the main “features” of a case for a build like this are its size and the number of disks it can hold.
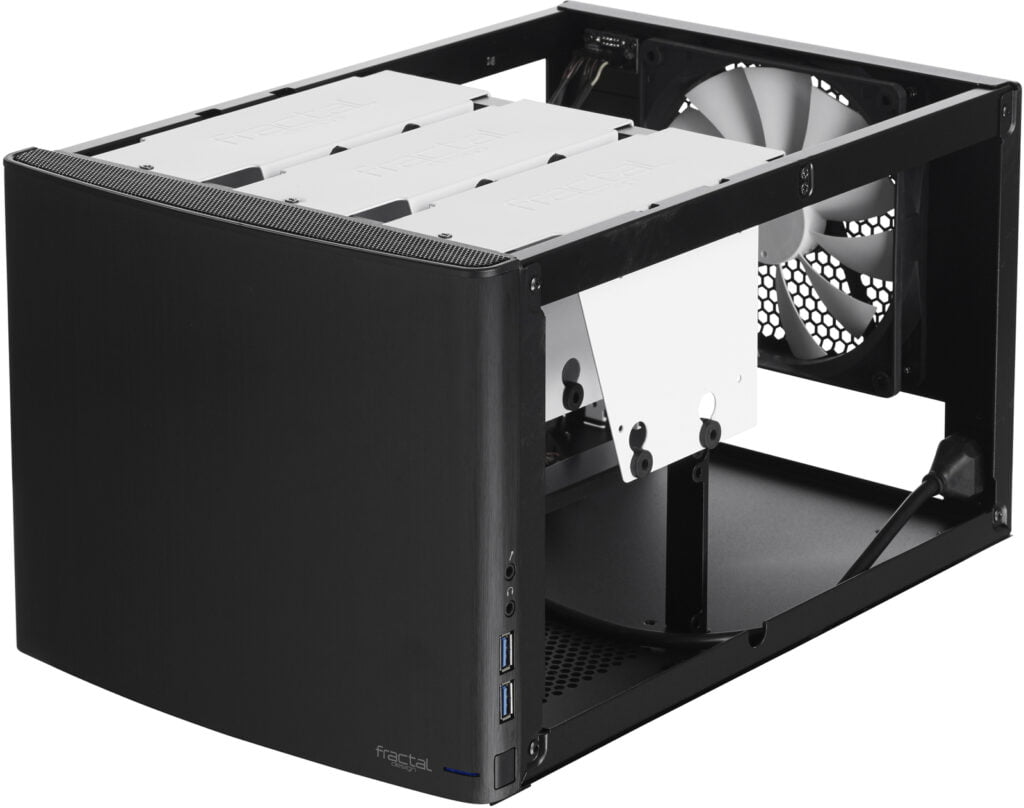
For this build I chose the fairly old Fractal node 304. Mainly, because it can take 6 disks, has very good cooling, and has space for an ATX PSU. The fact that the HDDs are mechanically decoupled from the houseing also was a big plus. The only drawback is that the mainboard must be a Mini-ITX board. A minor annoyance for a home NAS is the missing hot-swap bays for the disks. To install/remove a disk, the case must be opened and you definitely need a screwdriver.
Mainboard for the efficient home server
- Mini-ITX (due to case)
- LGA 1700 socket (due to CPU)
- DDR5 (CPU allows both DDR4 and DDR5)
- 4+ SATA ports
- 1+ m.2 port(s)
Due to the CPU and the case two important requirements for the mainboard are already fixed. It had to be a Mini-ITX mainboard with an LGA1700 socket. The CPU (Intel Core i3-12100) still leaves me the choice between DDR4 and DDR5 memory. DDR5 does have lower power usage and on-die ECC. On-die ECC is not quite ECC, but better than no ECC at all. In a nut-shell, on-chip ECC cannot correct errors, but detect one error, if it happens while the data resides in the RAM. Real ECC can correct one error and also covers the path from/to the CPU.
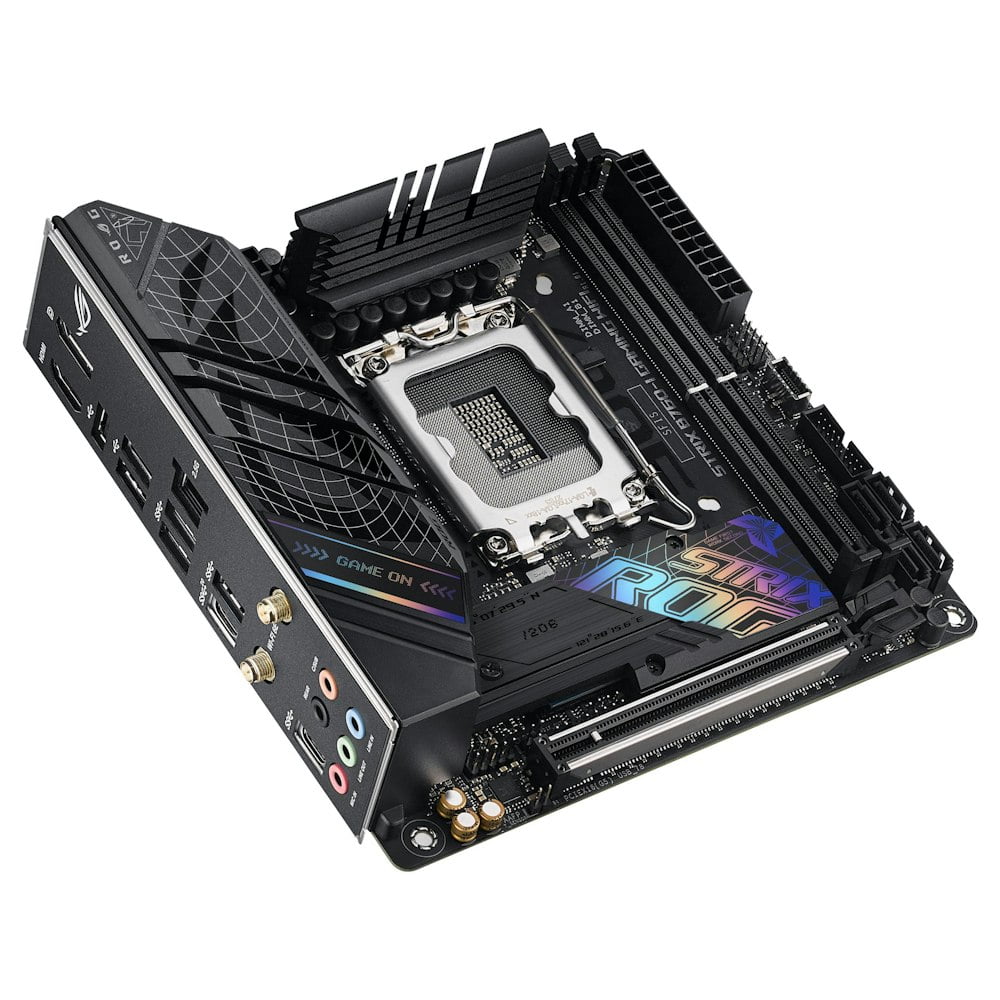
I definitely wanted the mainboard to have at least Gigabit ethernet (GbE), the ability to accomodate at least 1 m.2 SSD and 4 or more SATA ports for disks. What would definitely help power efficiency is a lot of tunable options in the BIOS. The very cheap boards usually do not offer too many settings in this regard. “Gaming” mainboards on the other hand often allow elaborate power settings.
With all those requirements fixed, the mainboard I ended up with was the ASUS ROG Strix B760-I Gaming WIFI. I didn’t really need it to have WIFI, but it was the cheapest board that ticked all boxes.
PSU for the efficient home server
- Max. 500 W nominal power
- 80%+ efficiency at 2%+ load
- ATX form factor
- No no-name for higher reliability (totally not objective, I know)
For very efficient PCs, most people tend to use PicoPSUs. I did not want to go that route for several reasons. Firstly, a good PicoPSU that can properly supply the i3 and support 4 or more disks spinning up simultaneously (150W+) alone will set you back around 50€ incl. shipping. To power that you need to get a good quality external power brick, which will set you back another 30€.
You might be able to get away with significantly less, if you buy a cheap no-name PicoPSU and a cheap external power brick. But, trust me, you don’t want that. I’ve done it with my old NAS (Intel Atom N180, two 3,5″ disks) and over the years I broke two cheap PicoPSUs, three cheap external power bricks and one 3,5″ HDD. All together a good quality ATX PSU would have been a lot cheaper. And heaps more reliable.
Power efficiency of ATX PSUs
The problem with ATX PSUs on the other hand is that you often get no information whatsoever about extremely low load efficiency. If I want a system with around 10 W total power, for a 500 W PSU that translates to a load of only 2%. Intel’s ATX power supply design guidelines to this day only specify efficiency down to 20% loads (power supply efficiency specifications). Even the 80 PLUS initiative only requires efficiency data for down to 10 % loads, and that even only for the 80 PLUS Titanium certification level (program details here).
Here in Germany electricity is on the rather expensive side (35 ct+ per kWh), so for a system running 24/7, it may very well make a difference if the PSU has an efficiency of 80% or only 50% (around 30€ vs. 40€ per year. This wasn’t my main concern, but should be kept in mind, when selecting the PSU.
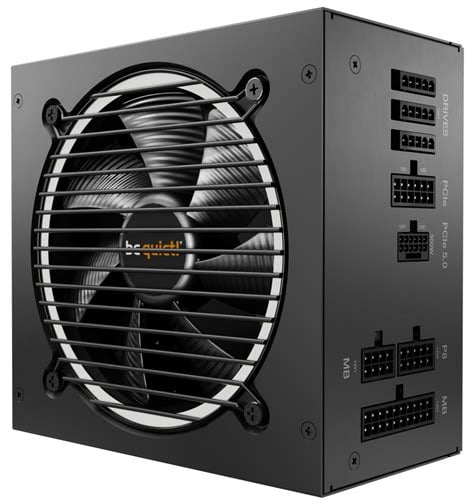
Some manufacturers do specify the efficiency of their PSUs for very low loads. For example BeQuiet! lists the efficiency of their PSUs down to a load of 2%. I originally found an article
Considering all this, I chose a be quiet! Pure Power 12 M 550 W for this build.
Memory for the efficient home server
As you might have guessed already at this point, this system is not about harnessing the last little bit of computational power. It’s more about efficiency, plus I tried to keep the cost from spiraling into an unacceptable range. For the things this machine is going to do, the memory is not going to have much influence, if at all. So I did what I do for most systems I’ve built so far: choose the cheapest non-no-name memory I could find. I definitely wanted to have 32 GB, because the system will be running TrueNAS SCALE (ZFS requires quite some amount of memory) and a lot of virtual machines and containers.
I ended up buying one Crucial DDR5-4800 DIMM with 32 GB. The mainboard has two memory slots, so in the future I can easily double the memory capacity should it not be enough.
NOTE: Due to availability, the RAM in the affiliate links below is not the 5200 MHz version of the memory, which should not impact any of the system’s parameters significantly, if run at 4800 MHz.
SSD for the efficient home server
There won’t be much for the SSD to do in daily life. It makes near to no difference if the system takes 30 seconds to boot or 1 minute. It’ll usually be idling, there’s basically no requirements whatsoever for the SSD, too. Again, I usually check to buy non-no-name components, because from my experience they tend to last longer. I want the machine to do its job, without me interfering ever so often.
I ended up with a Samsung 970 Evo Plus 250 GB SSD, but only because I got a real bargain. For the ASUS ROG Strix B760-I Gaming Mainboard make sure to buy NVMe M.2 SSDs, because it does not support SATA M.2 SSDs! Don’t ask me, how I found out…
Disks for the efficient home server
I still had the two Western Digital Red 4 TB (EFAX) disks which I had bought as spares for the old NAS back a while ago. They do use shingled magnetic recording (SMR), which is not the best option for RAID systems, but again. I wasn’t after the last bit of performance. The disks were cheap and do their job, so for me that was ok. You have to decide for yourself if that’s ok for you, too.
Resulting efficient home server
The following table shows the components I’ve selected for the system with the price I’ve paid when I built the system:
| Component | Model | Price |
| CPU | Intel Core i3 12100 | 109 € |
| CPU cooler | Arctic Alpine 17 CO | 11 € |
| Mainboard | ASUS ROG Strix B760-I Gaming | 180 € |
| RAM | Crucial DDR5-4800 32 GB DIMM | 95 € |
| Case | Fractal Design Node 304 Mini-ITX Case | 82 € |
| PSU | be quiet! Pure Power 12 M 550 W | 90 € |
| SSD | Samsung 970 Evo Plus 250 GB | 37 € |
| Total | 604 € |
Conclusion
In this part of the four part efficient home server series I’ve detailed how I chose the hardware for my new NAS. If you’ve build plenty of PCs before, there might not have been much new to you. Nevertheless, I hope it might help one or the other out there.
Also check out the other parts of this series: Part 2: The Build, Part 3: Power Optimization, Part 4: Software Configuration.
Amazon Links for the efficient home server
If you enjoyed the article and would like to say thank you (or build the same system), please consider using one of the Amazon affiliate links from the table below. At this point I still have to manually handle the Amazon Affiliate links, so please choose the location closest to you from the table. As amazon associate I am getting a small share if you buy the products clicking on the links. Thank you 😊
Disclosure: The links below are all Amazon Affiliate links. For details, please check my affiliate disclosure.
| Amazon DE | Amazon UK | Amazon US | |
|---|---|---|---|
| Intel Core i3 12100 | https://amzn.to/3zq6pPN | https://amzn.to/3JdZuuv | https://amzn.to/443gME3 |
| Arctic Alpine 17 CO | https://amzn.to/4glM8vz | https://amzn.to/3UeDh5G | https://amzn.to/4cR65Zf |
| ASUS ROG Strix B760-I Gaming | https://amzn.to/4daVwiP | https://amzn.to/49H9VBC | https://amzn.to/3TXFKA0 |
| Crucial DDR5-5200 32 GB | https://amzn.to/3Bggi2V | https://amzn.to/4e0hiqy | https://amzn.to/4e5ydIa |
| Fractal Design Node 304 Mini-ITX Case | https://amzn.to/3MKLABP | https://amzn.to/49xHOof | https://amzn.to/3PZIqfp |
| be quiet! Pure Power 12 M 550 W | https://amzn.to/3XKzdf3 | https://amzn.to/4aV8Rep | https://amzn.to/43XUbsy |
| Samsung 970 Evo Plus 250 GB | https://amzn.to/4glMe6p | https://amzn.to/49EEGGZ | https://amzn.to/43XdceH |